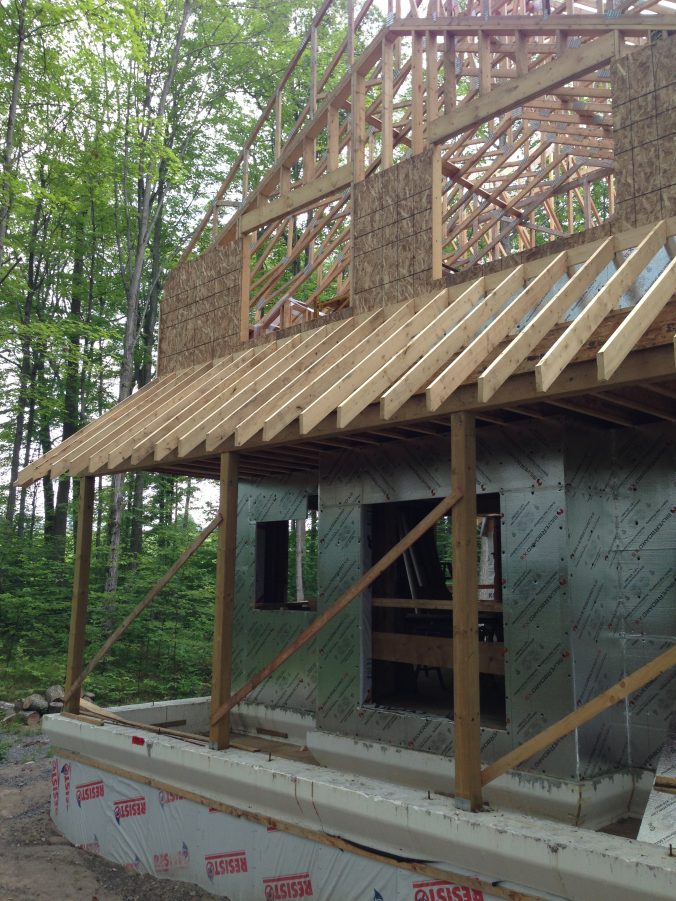
We’re seeing more seasonal weather, and the drier days have helped to keep things moving along. Cladding is in progress and all of the water in the basement is getting pumped. The level of detail that goes into every inch is amazing. I don’t know what we would do with out Tom, the main man on the day to day goings on with this project.
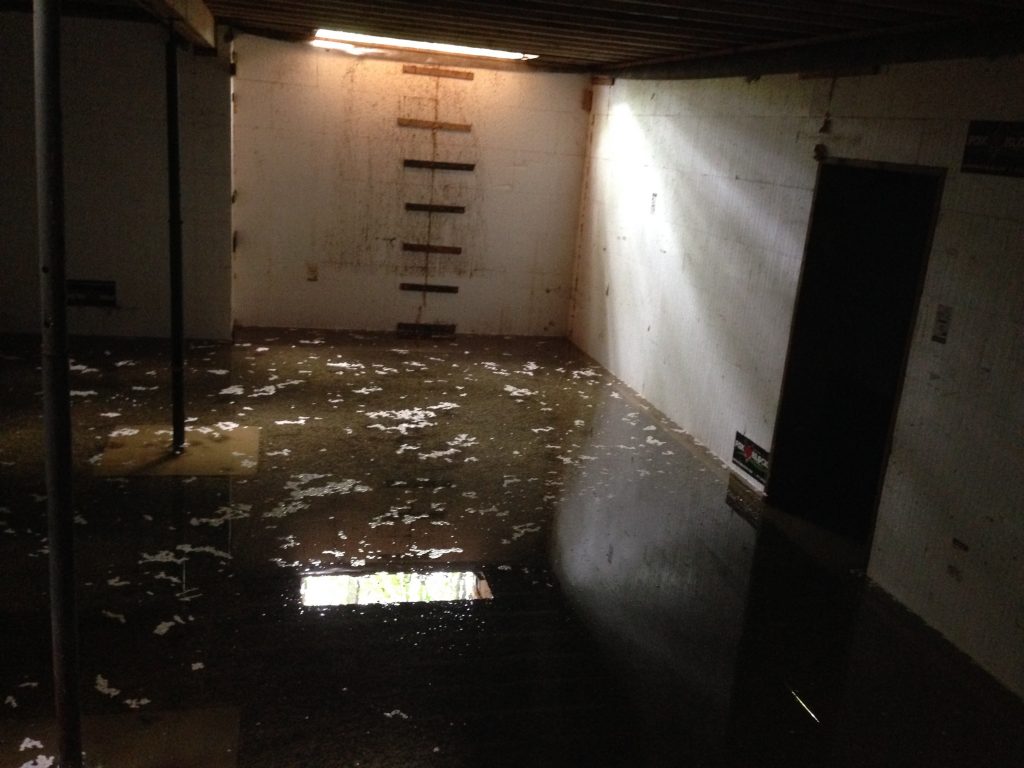
That isnt a pool in our basement thats the result of a rather rainy spring and early summer.
In the meantime, we decided to work on a new gate to the property. The old gate opening was too small for the heavy equipment needed for the build, so it had to be removed when we started the excavation. This new gate is wider so we don’t have to worry about any future equipment as the build continues. The old gate, built by Greg’s Uncle Joe, is still in good shape so we look forward to seeing it in a new home.
The first step was to install the fence posts. Now, when it comes to digging the holes for the posts, some might think that using an auger the task would be easy-peasey. The challenge is all of the stones that are in the ground, which augers don’t like, so shovel it is! Actually a shovel plus a 20-pound bar with a chisel end that’s used to break up the ground and stones. And there were a ton of stones! So there we were….shovel, shovel, bar, bar, shovel, bar….you get the picture…until we had 2 four foot holes. It was hard and hot work, but it was actually kind of fun using the bar. (Shhhh don’t tell Greg)
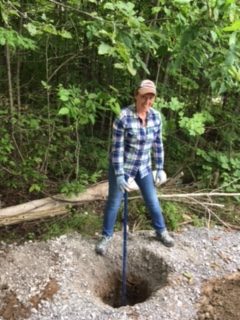
Breaking up stones for our new fence posts
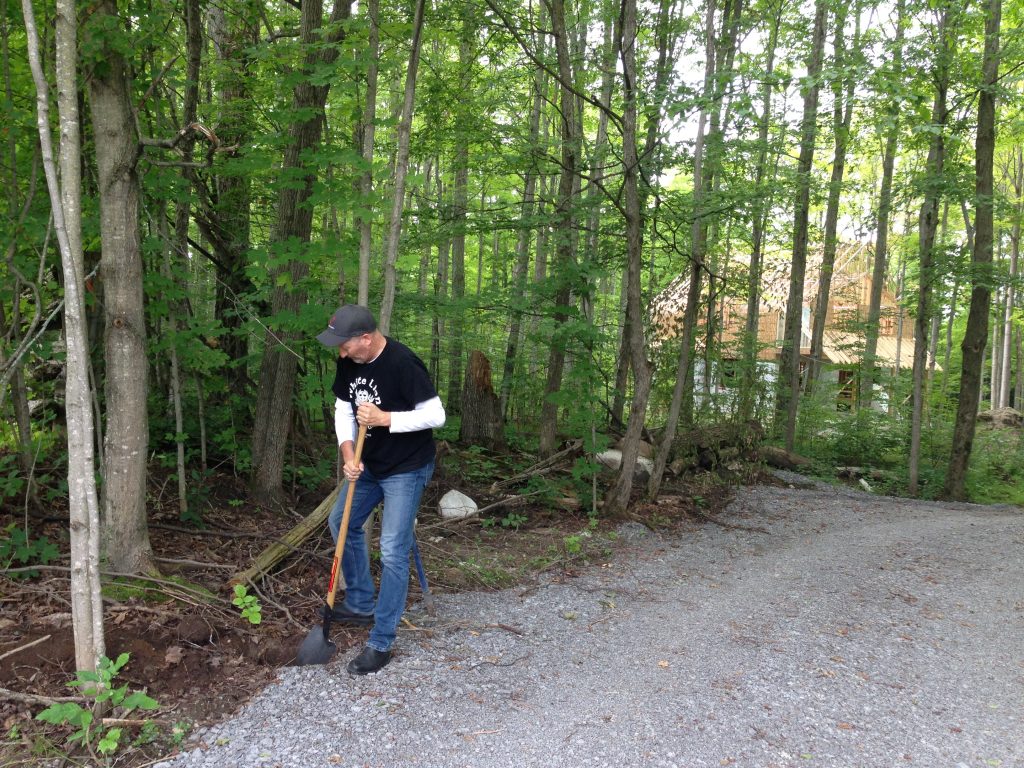
Digging the hole for fence post #1
Our project this week was to take a series of 2x6s and 1x6s, and turn them into a set of gates. And how did we do it? Power saw and a cordless drill? Nah, that’s too easy. Not to mention a challenge without electricity or a generator. Instead, we used a hand saw and a cool tool called a ‘yankee screwdriver‘. It’s a manual screwdriver, but with a ratchet mechanism so all you have to do is push down and it takes care of the turning the screws. Definitely easier and faster than the traditional screwdriver, which is good because at the end of the day each gate ended up with 120 screws apiece. 120! Those suckers should be solid and square for years.
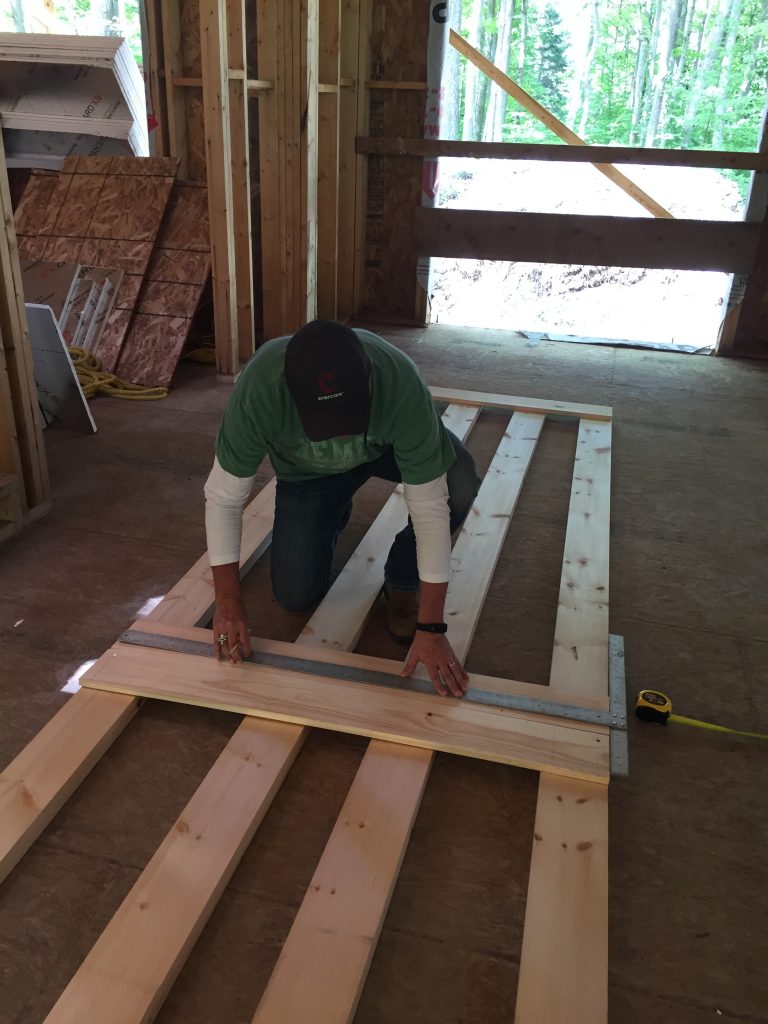
Measure twice, cut once…
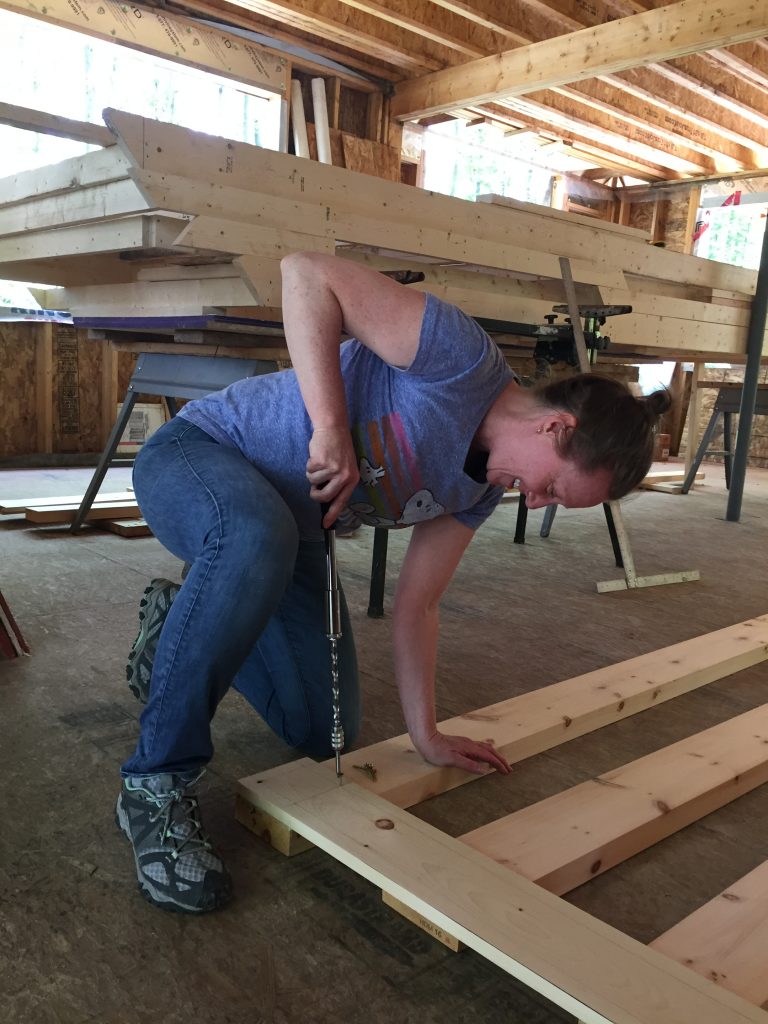
Don’t I look like I know what I’m doing? LOL
We had an audience while we were working. A family of flycatchers had made a home in what will be our kitchen. We even got to witness the babies leaving the nest. A very nerve-racking thing to watch.
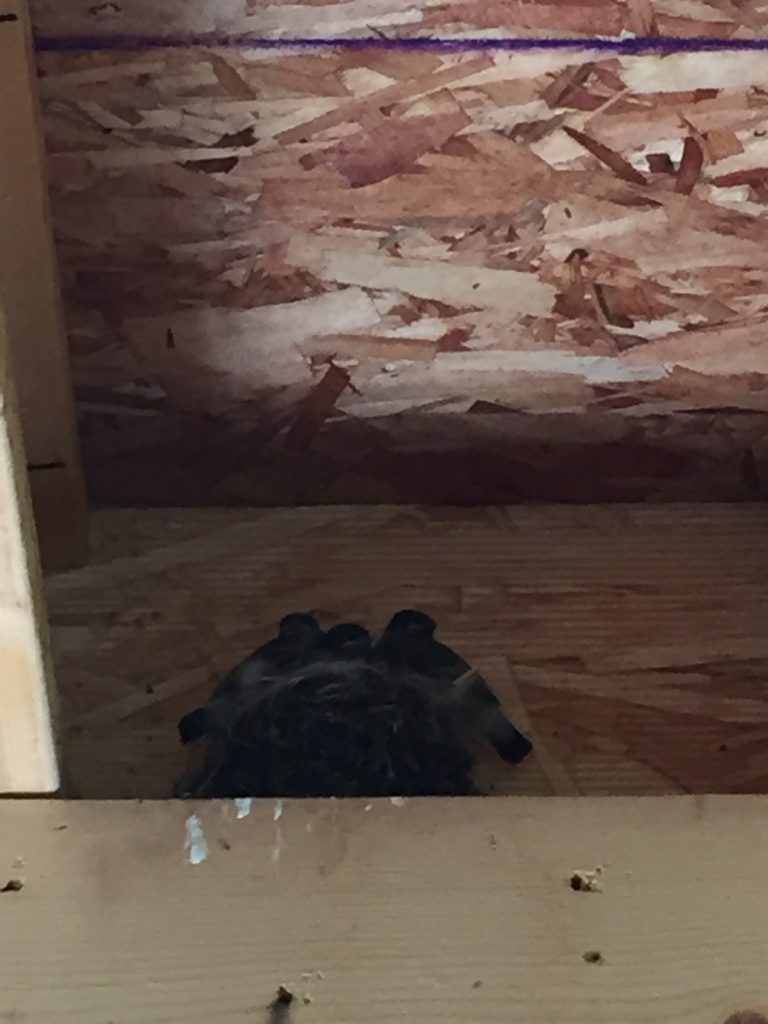
A rather grainy photo of the flycatcher babies before they took their first flight.
With the gates built, we decided to call it a day and enjoy the rest of the evening camping on the property. I loved the fact that we didn’t have to rush home and could just relax and enjoy our surroundings. It was a beautiful night too, perfect for camping. We were even serenaded by a family of coyotes in the middle of the night. How nice of them to welcome us to the neighbourhood, don’t you think? Growing up in Windsor, ON, that’s not exactly something you hear every day so the experience was totally surreal.
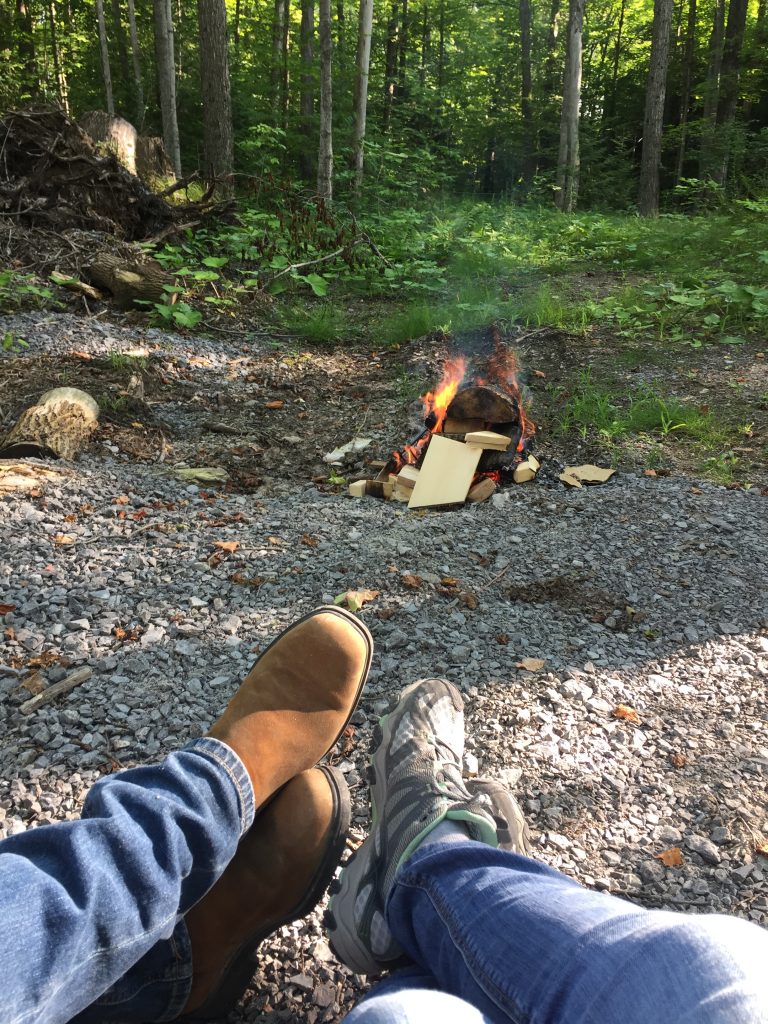
Enjoying the campfire
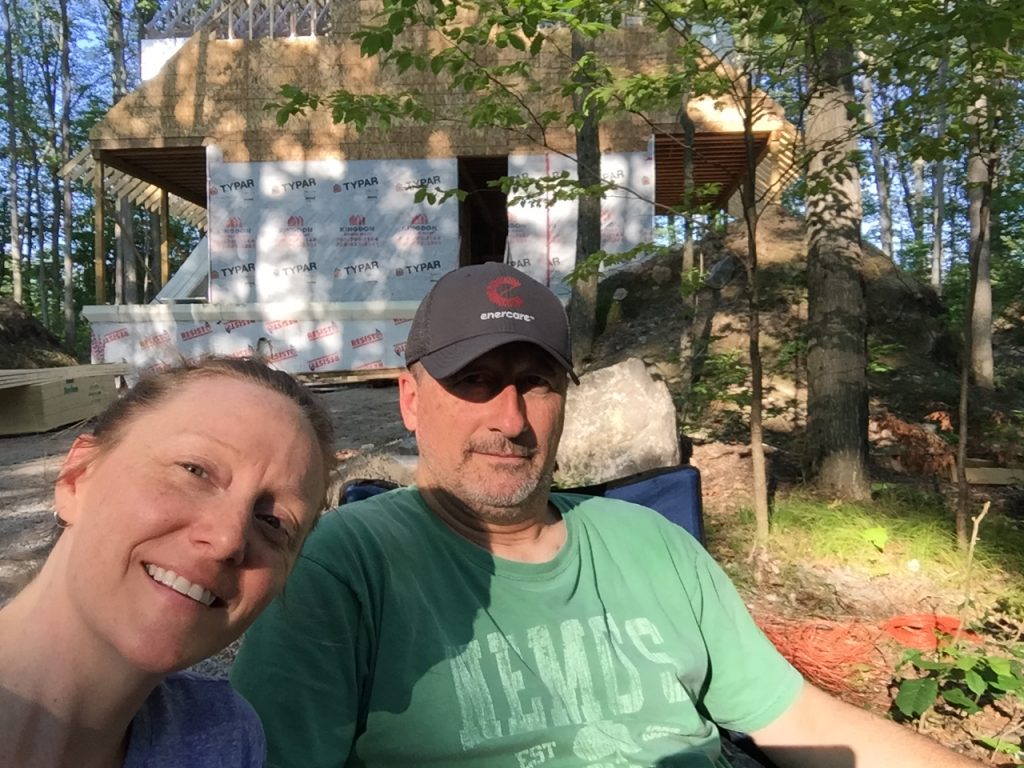
Relaxing by the campfire in our ‘backyard’
The next day we spent painting our new masterpieces. Now they’re ready for the next step when we can actually hang them. I can’t wait to see what they look like installed.
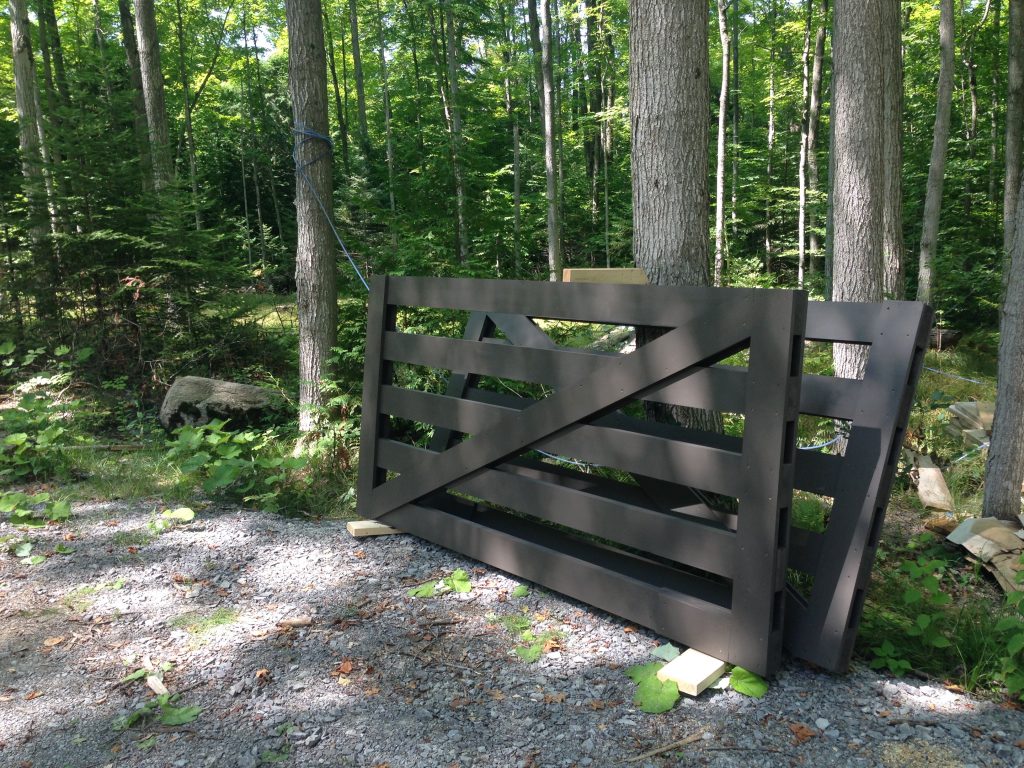
Our new gates, painted and ready to be installed
